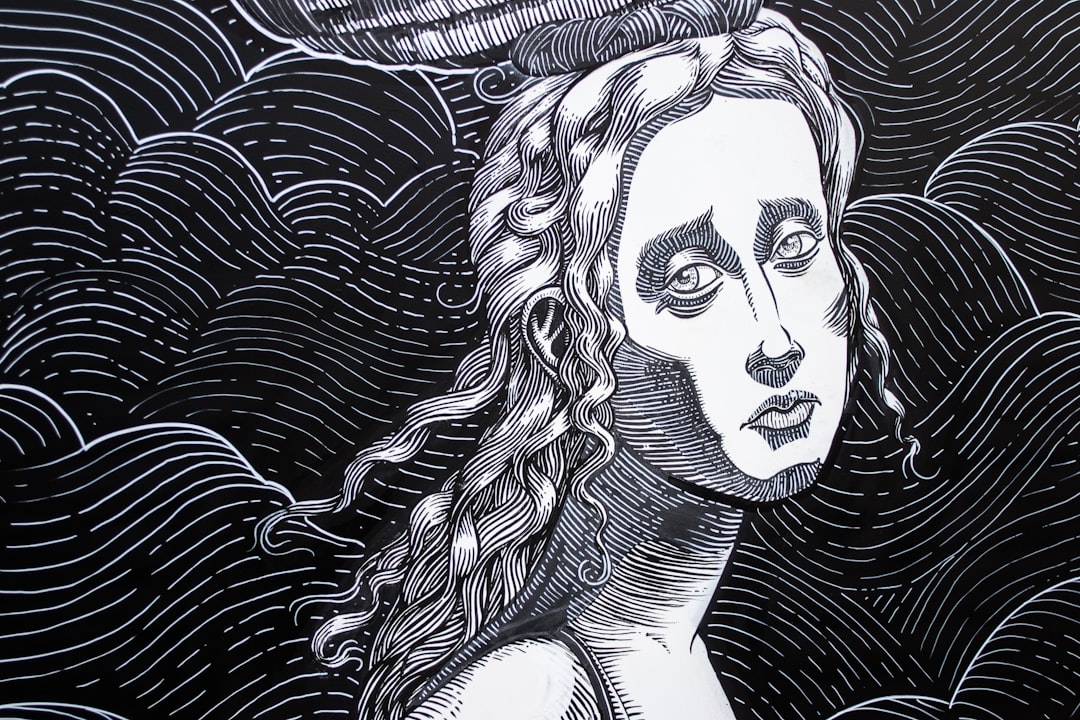
Hand drawing is the act of creating images or designs using only the hands and a drawing tool, such as a pencil or pen. It is a fundamental skill that has been practiced for centuries and is still highly valued in the digital age. Hand drawing allows artists to express their creativity, develop their observation skills, and communicate ideas visually.
The history of hand drawing dates back to prehistoric times, when early humans used cave walls as their canvas. Over time, different cultures developed their own unique styles and techniques, such as the intricate line work of ancient Egyptian art or the realistic portraits of the Renaissance. Hand drawing has always been an essential tool for artists to document the world around them and explore their imagination.
In today’s digital age, where computer software and digital tools have become increasingly prevalent, hand drawing may seem less relevant. However, it remains an important skill for artists and designers. Hand drawing allows for a more personal and tactile experience, enabling artists to connect with their work on a deeper level. It also helps to develop hand-eye coordination and fine motor skills, which are valuable in many other areas of life.
Key Takeaways
- Hand drawing is a fundamental skill for artists and designers.
- Essential tools for hand drawing include pencils, erasers, and paper.
- Understanding line, shape, and form is crucial for creating effective drawings.
- Proportion and perspective are important for creating realistic drawings.
- Techniques for creating texture and depth can enhance the visual impact of your drawings.
Essential Tools and Materials for Hand Drawing
To get started with hand drawing, there are a few essential tools and materials that every artist should have:
1. Pencils and erasers: Pencils come in various grades of hardness, ranging from 9H (hard) to 9B (soft). The harder the pencil, the lighter the mark it makes, while softer pencils create darker marks. Erasers are used to correct mistakes or lighten areas of a drawing.
2. Paper and sketchbooks: Choosing the right paper is important for achieving desired effects in your drawings. Different types of paper have different textures and weights, which can affect how your drawing looks and feels. Sketchbooks are a convenient way to keep all your drawings in one place and allow for easy transportation.
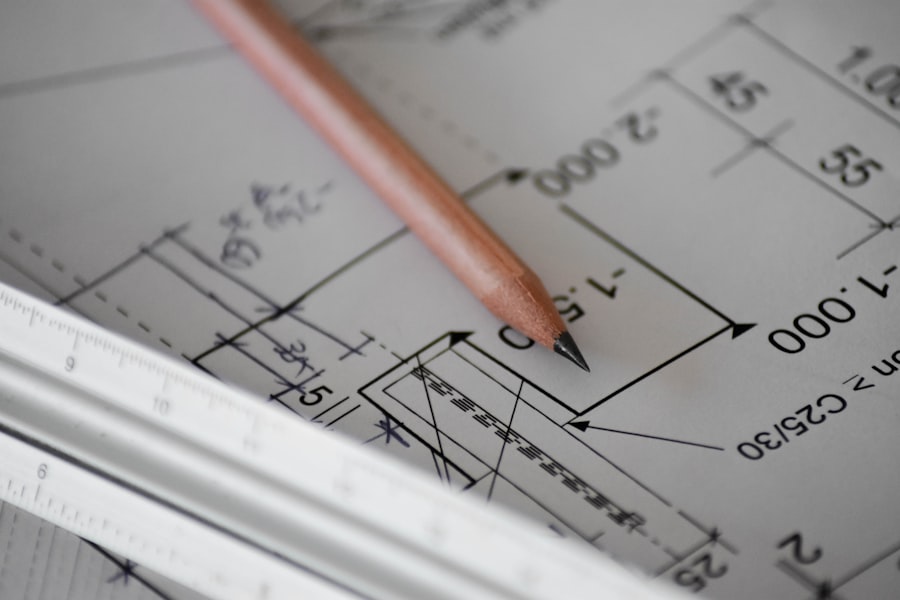
3. Rulers and compasses: These tools are useful for creating straight lines, measuring proportions, and drawing precise shapes. A ruler helps to maintain straight lines, while a compass is used to create circles or arcs.
4. Other materials: Depending on your preferences and the style of drawing you want to achieve, you may also want to experiment with other materials such as charcoal, pastels, ink, or colored pencils. These materials can add different textures and effects to your drawings.
Understanding the Elements of Art: Line, Shape, and Form
The elements of art are the basic building blocks that artists use to create their work. Three fundamental elements of art are line, shape, and form.
1. Line: A line is a mark made by a moving point. It can be straight or curved, thick or thin, continuous or broken. Lines can be used to define shapes, create texture, or convey movement in a drawing.
2. Shape: A shape is a two-dimensional area that is defined by an outline or boundary. Shapes can be geometric (such as squares or circles) or organic (such as the shape of a tree or a cloud). They can be used to create patterns, balance, or focal points in a drawing.
3. Form: Form refers to the three-dimensional quality of an object. It is created by combining shapes and adding shading and highlights to give the illusion of depth and volume. Forms can be represented realistically or abstractly in a drawing.
To effectively use these elements in your drawings, it is important to understand their characteristics and how they interact with each other. Experimenting with different types of lines, shapes, and forms will help you develop your own unique style and visual language.
The Importance of Proportion and Perspective in Hand Drawing
Proportion and perspective are crucial aspects of hand drawing that help create realistic and accurate representations of objects and scenes.
1. Proportion: Proportion refers to the size and scale relationships between different parts of an object or figure. It is important to accurately observe and measure proportions in order to create a convincing drawing. One common technique for achieving accurate proportions is to use comparative measuring, where you compare the size of one part of the subject to another.
2. Perspective: Perspective is the technique used to create the illusion of depth and space in a two-dimensional drawing. It involves understanding how objects appear smaller as they recede into the distance and how lines converge at a vanishing point. There are different types of perspective, such as one-point perspective, two-point perspective, and three-point perspective, which can be used to create different effects in a drawing.
To practice proportion and perspective, you can start by drawing simple objects or still life arrangements. Pay close attention to the relationships between different parts of the object and how they relate to the overall composition. Gradually, you can move on to more complex subjects, such as landscapes or figures, and experiment with different perspectives.
Techniques for Creating Texture and Depth in Your Drawings
Texture and depth are important elements that can bring life and realism to your drawings.
1. Texture: Texture refers to the surface quality or feel of an object. It can be smooth, rough, bumpy, or shiny. To create texture in your drawings, you can use different mark-making techniques with your drawing tool. For example, using short, quick strokes can create a rough texture, while using long, smooth strokes can create a smooth texture.
2. Depth: Depth is the illusion of space or distance in a drawing. It is created by using techniques such as shading, highlighting, and overlapping. Shading involves adding value (lightness or darkness) to different areas of your drawing to create the illusion of form and volume. Highlighting is used to show areas of the subject that are hit by direct light, while overlapping is used to create the illusion of objects being in front or behind each other.
To practice creating texture and depth, you can start by drawing simple objects with different textures, such as a piece of fabric or a tree bark. Experiment with different mark-making techniques and shading techniques to capture the texture and depth of the subject.
Tips for Creating Realistic Portraits and Figure Drawings
Drawing portraits and figures can be challenging, but with practice and observation, you can improve your skills and capture the likeness and expression of your subjects.
1. Capturing likeness: When drawing a portrait, it is important to accurately capture the likeness of the person you are drawing. Pay attention to the unique features of their face, such as the shape of their eyes, nose, and mouth. Start by sketching the basic shapes and proportions of the face before adding details. Use shading to create depth and volume in the facial features.
2. Drawing the human figure: Drawing the human figure requires an understanding of anatomy and proportions. Start by sketching the basic shapes and proportions of the body before adding details. Pay attention to the angles and curves of the body, as well as the relationships between different parts. Use shading to create form and volume in the figure.
To practice drawing portraits and figures, you can start by using reference photos or drawing from life. Focus on capturing the overall gesture and proportions before adding details. Gradually, you can move on to more complex poses and expressions.
Exploring Different Styles and Approaches to Hand Drawing
Hand drawing offers endless possibilities for experimentation and exploration. There are many different styles and approaches that artists can take, ranging from realism to abstraction.
1. Realism: Realism is a style of drawing that aims to represent subjects as accurately as possible. It involves careful observation and attention to detail. Realistic drawings often have a high level of detail and use techniques such as shading and blending to create a three-dimensional effect.
2. Abstraction: Abstraction is a style of drawing that simplifies or distorts the subject to create a more subjective or expressive representation. It focuses on the underlying shapes, lines, and colors rather than realistic representation. Abstract drawings can be non-representational or semi-representational, depending on the artist’s intention.
To find your own style, it is important to experiment with different techniques, materials, and subjects. Try drawing the same subject in different styles and see which one resonates with you the most. Don’t be afraid to take risks and push the boundaries of your comfort zone.
How to Choose the Right Paper and Medium for Your Drawings
Choosing the right paper and medium is important for achieving desired effects in your drawings.
1. Paper: There are many different types of paper available for drawing, each with its own unique characteristics. Some papers have a smooth surface, which is ideal for detailed drawings, while others have a rough texture, which can add depth and texture to your work. Consider the weight and thickness of the paper as well, as this can affect how your drawing looks and feels.
2. Medium: The medium refers to the drawing tool or material that you use, such as graphite pencils, charcoal, ink, or colored pencils. Each medium has its own unique properties and effects. Graphite pencils are versatile and allow for precise control, while charcoal creates rich, dark tones and expressive marks. Experiment with different mediums to find the one that suits your style and desired effects.
When choosing paper and medium, consider the subject matter and style of your drawing. For detailed drawings, a smooth paper and fine-tipped pencils may be more suitable. For expressive or textured drawings, a rougher paper and charcoal may be more appropriate. Don’t be afraid to experiment with different combinations to find what works best for you.
Mastering the Art of Shading and Rendering
Shading and rendering are techniques used to create realistic and three-dimensional effects in your drawings.
1. Shading: Shading involves adding value (lightness or darkness) to different areas of your drawing to create the illusion of form and volume. It is important to observe how light interacts with objects and how it creates highlights, shadows, and mid-tones. Use different shading techniques, such as hatching, cross-hatching, or blending, to create different effects.
2. Rendering: Rendering is the process of refining and adding details to your drawing. It involves carefully observing the subject and adding subtle variations in value, texture, and color to create a more realistic representation. Pay attention to the small details, such as wrinkles, textures, or reflections, that can bring your drawing to life.
To practice shading and rendering, start by drawing simple objects with different shapes and forms. Focus on capturing the overall form and volume before adding details. Experiment with different shading techniques and observe how they affect the appearance of your drawing.
Common Mistakes to Avoid When Learning Hand Drawing
When learning hand drawing, it is common to make certain mistakes. Here are some common mistakes beginners make and tips for avoiding them:
1. Lack of observation: One common mistake is not observing the subject carefully enough. Take the time to study the subject before starting your drawing. Pay attention to the proportions, shapes, and details. Use comparative measuring techniques to ensure accuracy.
2. Overworking: Another mistake is overworking a drawing by adding too much detail or going over the same area repeatedly. Know when to stop and leave some areas less detailed to create contrast and visual interest.
3. Fear of making mistakes: Many beginners are afraid of making mistakes and strive for perfection in their drawings. Remember that making mistakes is part of the learning process. Embrace imperfections and learn from them.
To avoid these mistakes, practice regularly and be patient with yourself. Start with simple subjects and gradually move on to more complex ones. Don’t be afraid to make mistakes and experiment with different techniques and styles.
Hand drawing is a timeless skill that offers endless possibilities for creativity and self-expression. By understanding the basics of hand drawing, practicing different techniques, and experimenting with different styles and materials, you can develop your own unique artistic voice. Remember to be patient with yourself, embrace mistakes as learning opportunities, and most importantly, enjoy the process of creating art. With dedication and practice, you can continue to improve your hand drawing skills and create beautiful works of art.
If you’re looking to improve your hand drawing skills, you might find this article on TutorSuggest helpful. It provides valuable tips and techniques for using hand drawing as a reference in your artwork. Whether you’re a beginner or an experienced artist, incorporating hand drawing into your creative process can add depth and authenticity to your work. Check out the article here to learn more and enhance your artistic abilities.
FAQs
What is hand drawing reference?
Hand drawing reference is a technique used by artists to create accurate and realistic drawings by observing and sketching from real-life objects or photographs.
What are the benefits of using hand drawing reference?
Using hand drawing reference allows artists to improve their observation skills, develop their understanding of form and proportion, and create more accurate and realistic drawings.
What types of objects can be used as hand drawing reference?
Any object can be used as hand drawing reference, including still life arrangements, landscapes, animals, and people.
What materials are needed for hand drawing reference?
The materials needed for hand drawing reference include a sketchbook or paper, pencils or other drawing tools, and the object or photograph being used as reference.
How can I improve my hand drawing reference skills?
To improve your hand drawing reference skills, it is important to practice regularly, experiment with different materials and techniques, and seek feedback from other artists or instructors.
Can hand drawing reference be used in digital art?
Yes, hand drawing reference can be used in digital art by scanning or photographing the hand-drawn reference and using it as a basis for digital artwork.